

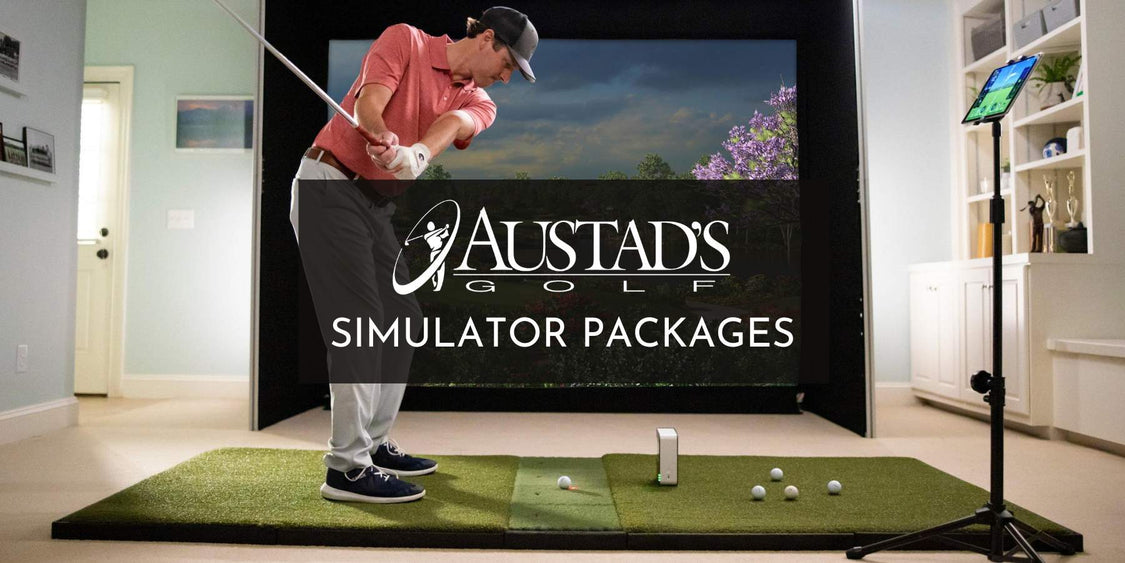
YOUR DREAM SIMULATOR STARTS HERE
Choose from four simulator types and multiple launch monitors to build the setup
that fits your game, budget and your space.
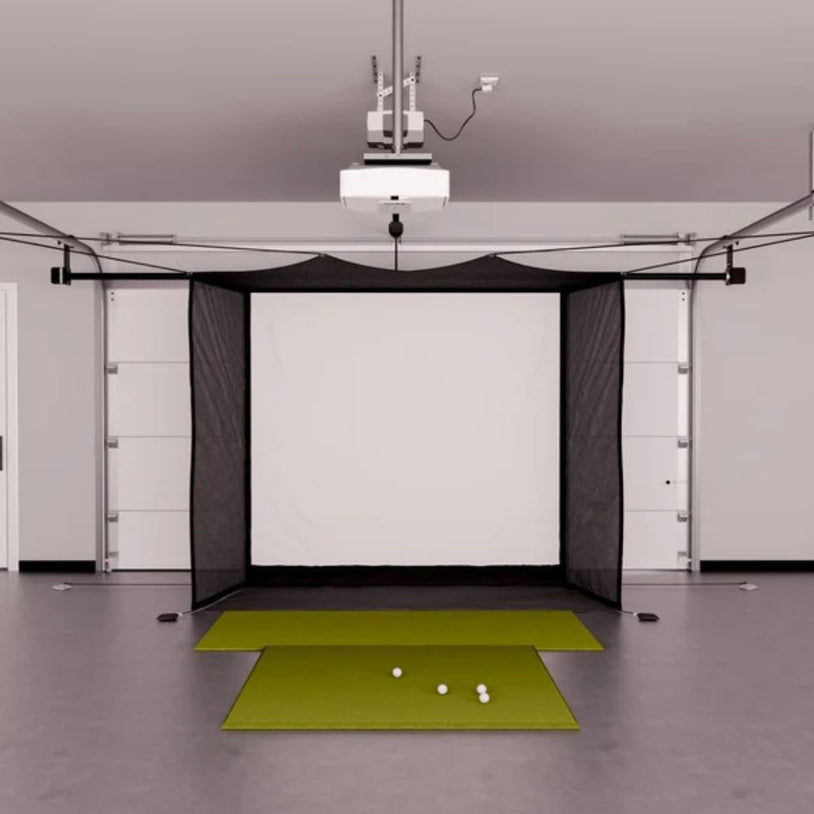
Flex Package
Starting at $2,700
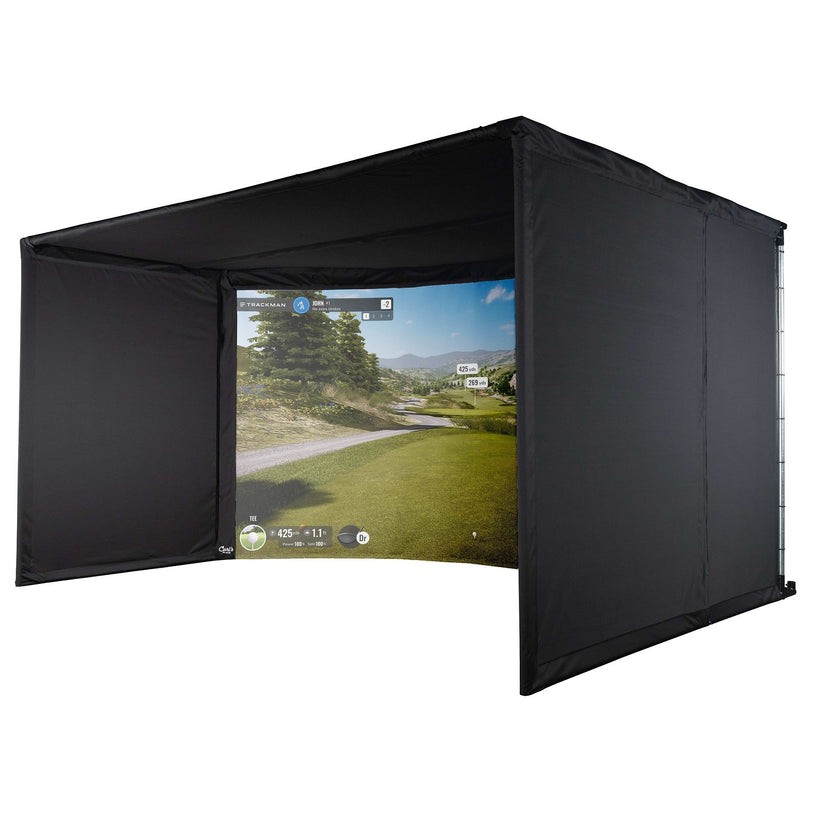
Our Flex Simulator Package lets you have it both ways—an incredible simulator when you want it and a wide-open room when you don’t. With the push of a button, the screen and side barriers roll away, making it the ultimate solution for garages and multi-purpose spaces.
HIGHLIGHTS:
- Retracts in seconds for multi-use spaces
- Clean, low-profile design for garages
- Premium impact screen with sharp visuals
- Perfect balance of flexibility and performance
Par Package
Starting at $2,700
The Par Package is the most popular entry point for golfers who want a reliable, affordable setup. Easy to assemble with modular sizing options, it delivers excellent ball containment and projection quality without breaking the bank.
HIGHLIGHTS
- Budget-friendly and reliable
- Modular sizing options available
- Easy, straightforward assembly
- Great projection and ball containment
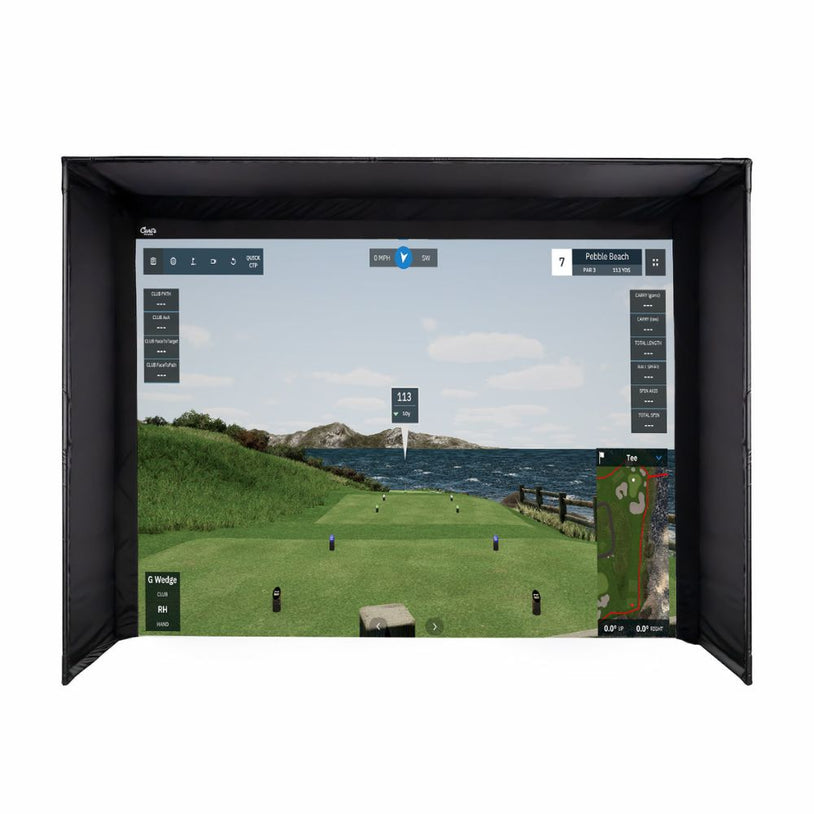
Birdie Package
Starting at $5,100
Built with heavier-duty materials and a cleaner finish, our Birdie Simulator Package gives your simulator space a professional studio look. It’s ideal for golfers who play often and want a setup that’s as durable as it is polished.
HIGHLIGHTS
- Heavy-duty, commercial-grade build
- Professional, polished studio look
- Superior ball containment & light control
- Built for frequent, long-term play
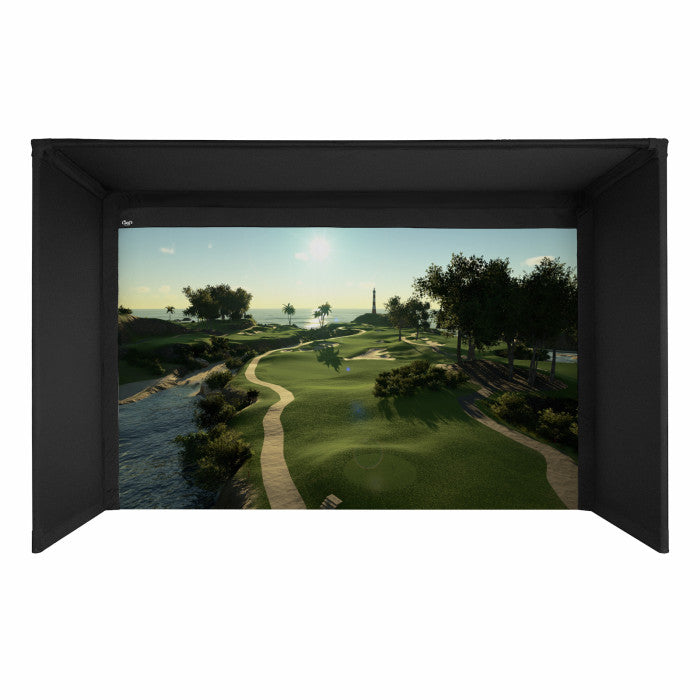
Curved Package
Starting at $7,600
The Curved Enclosure takes immersion to the next level with a panoramic, wraparound screen that makes you feel like you’re standing on the fairway. Stunning visuals, premium build quality, and unmatched “wow” factor make this the centerpiece of any serious golf studio.
HIGHLIGHT
- Panoramic wraparound visuals
- Immersive, cinematic experience
- Premium materials and finish
- Showpiece design for high-end studios

Helpful Info About Our Sim Packages
If you've got questions about golf simulators, we've got answers! We've got helpful guides and comparison charts to help you find the right simulator to fit your needs.
Simulator Buying Guide: Where to Start
Quick 5-Step Guide to Buying a Golf Simulator
Buying a simulator doesn’t have to be overwhelming—here are 5 things you need to decide before you dig into your options:
1. Determine How Much Space You Have
Space drives everything—enclosure style, launch monitor type, projector throw, and whether both right- and left-handed players can swing comfortably.
- Measure width × height × depth (wall to wall, floor to ceiling, back wall to screen).
- Note obstructions (garage tracks, lights, soffits), doors, and outlet locations.
- Aim for 9–10’+ ceiling, 12’+ width, and 16–20’ depth for most builds
- Budget 7–10 ft ball-to-screen and 4–6 ft behind the player for swing clearance.
- Dual-handed use? Add width or choose center-strike layouts and overhead tracking.
2. Decide How You’ll Use Your Simulator
Your goals will determine the launch monitor, enclosure, software, and A/V choices. Some things to consider are:
- Analytics: Do you need or want to be able to get in-depth swing analysis and practice?
- Gaming & social play: Is the ability to access top golf courses, entertaining games and interactivity important to you?
- Family entertainment: Will your simulator be used by the entire family? Think about durability, ease of use and multisport and gaming options.
- Coaching/content: Are you looking for a more professional setup?
- Commercial/league play: Will this be used in more of a public setting that will require more durability?

3. Set Your Budget
4. Decide on Any "Make or Break" Options
5. Start Your Research...Or Let Austad's Help
- Simulator enclosure or impact screen
- Launch monitor
- Software
- Projector
- Computer/Gaming System
- Hitting Mat
Simulator Package Comparison
| Flex Package | Par Package | Birdie Package | Curved Package | |
|---|---|---|---|---|
 |
 |
 |
 |
|
| Quality & Build | Premium retractable cassette + tensioned screen; built for everyday use in multi-purpose rooms/garages | Solid, value-focused fabric + screen kit; durable for home use | Heavy-duty, commercial-leaning materials; excellent light control and finish | Top-tier; engineered curvature + premium screen; cinema-grade immersion |
| Standout Features | Retracts in seconds; preserves room use; optional wall/ceiling mount; perfect for garages | Straightforward build; modular sizing; budget-friendly; easy replacements | Cleaner edges, thicker enclosure fabric, superior ball containment, “studio” look | Panoramic wrap-around visuals; unmatched wow-factor; best for projector-driven realism |
| Recommended Room Size* | ~10’W × 9’H × 16’D (more depth for projector & swing); 9–10’+ ceiling ideal | ~12’W × 9’H × 18’D (varies by size) | ~12–14’W × 10’H × 19–20’D | ~14–16’W × 10’H × 20–22’D (extra depth for curve & projector throw) |
| Install Difficulty | Moderate (stud finding, mount/clearances) | Moderate (PVC/pipe cutting & wrap) | Moderate–Advanced (heavier components) | Advanced (precision alignment) |
| Price Tier ** | $$–$$$ | $$ | $$$ | $$$$ |
| Best For | Garages, bonus rooms, multi-use spaces that can’t stay “built out” 24/7 | First builds, budget projects, renters or tinkerers | Dedicated rooms, higher swing speeds, frequent play | Premium studios, showpiece installs, entertainment + practice |
|
SHOP NOW >> |
SHOP NOW >> | SHOP NOW >> | SHOP NOW >> |
* Room size guidance assumes a right-handed golfer centered; lefties or shared bays should add width.
** “Price Tier” is relative: $$ (value) → $$$$ (premium). Actual pricing depends on size, add-ons, and shipping.
How to Measure Your Space
Start by measuring width, height, and depth of your room. Most setups require at least 9–10 feet of ceiling height, 12 feet of width, and 16–18 feet of depth for safe swings, proper ball flight, and projector throw.
Make sure to account for swing clearance (especially if both right- and left-handed players will use the space) and allow 7–10 feet from ball to screen plus 4–6 feet behind the player. These minimums ensure accurate tracking, clear visuals, and comfortable play.

Simulator Budget Guide
When planning your golf simulator, your budget should cover more than just the launch monitor and enclosure. Think of it as a complete system—enclosure and screen, projector, hitting mat, computer, and installation all play a role in performance and longevity.
The key is to align your investment with your goals: a value package for fun and family play, a performance build for serious practice, or a flagship studio for a true tour-level experience.
Here's a high-level breakdown of how much you can expect to spend on the components of your simulator:
- Launch monitor: 40–60%
- Enclosure + impact screen: 15–25%
- Projector & mount: 10–20%
- PC/Laptop & cart: 10–20%
- Mat & flooring: 10–15%
- Install & misc (cables, foam): 5–15%
Curious about what different types of simulators will cost you? Here are some general parameters:
- Starter ($3–8k): Value enclosure or retractable/net, 1080p projector, entry-level launch monitor, basic turf.
- Performance ($8–15k): DIY or small Pro Enclosure, short-throw 1080p/bright laser projector, mid-level launch monitor, premium mat.
- Flagship ($18–35k+): Curved or Pro Simulator Enclosure with trim, 4K/bright laser projector, high level launch monitor, full room buildout.
Overwhelmed? We've got your back. Reach with any questions or book a FREE simulator consultation and we'll talk you through the process.
We Can Help You Build Your Dream Simulator
Reach out to book a free consultation or drop us a line. From design to installation, we've got you covered.